Groups - Adding/removing groups from groupingsOnce you have created your groupings and your groups, you need to assign groups to groupings.
Removing groups follows the same process, but instead of selecting the group from the right hand list and clicking "Add", you select it from the left hand list and click "Remove". |
Groups - Adding/removing users from groups
|
Groups - Creating groups
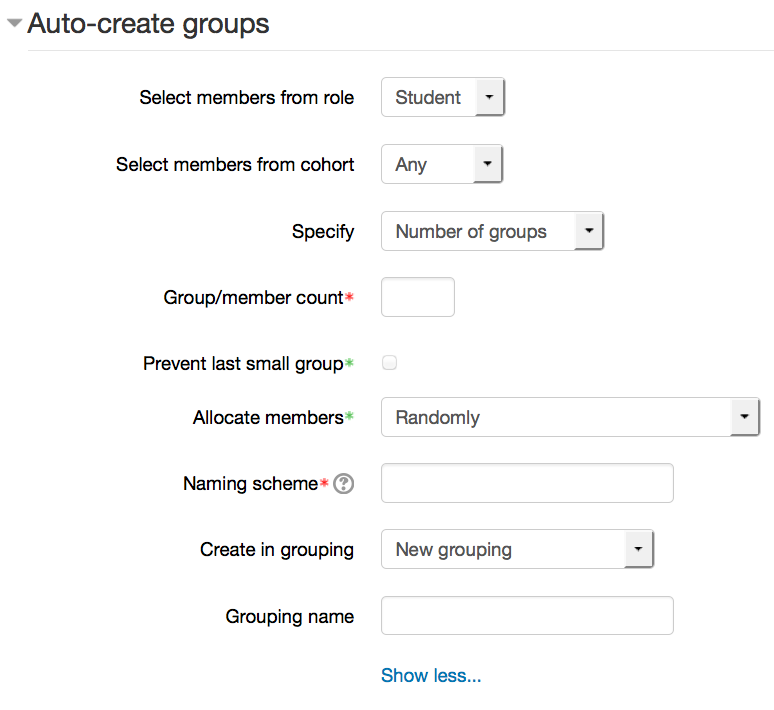
Auto create groups
Select members from role - The members of your group will be selected from the pool of students by default. If you want to include teachers and students in the auto-creation, change this to "All". Select members from cohort - Only site administrators should see this setting. Specify - number of groups or members per group - do you want to break the class up into a specific number of groups, or by the number of people per group? Group/member count - this field is required and is linked to the previous setting. i.e. If you want your students split into 3 groups, put 3 in here and have "number of groups" for the previous setting. Prevent last small group - If there are not the right numbers to make even groups, often one group will be created that is smaller than the rest. Checking this will distribute those students amongst the existing groups instead, even if it pushes the numbers above the ones you specified for maximum members in a group. Allocate members - your options are randomly, alphabetically by first name last name, alphabetically by last name first name, alphabetically by ID number. Naming scheme - The at symbol (@) may be used to create groups with names containing letters. For example Group @ will generate groups named Group A, Group B, Group C, ... The hash symbol (#) may be used to create groups with names containing numbers. For example Group # will generate groups named Group 1, Group 2, Group 3, ... |
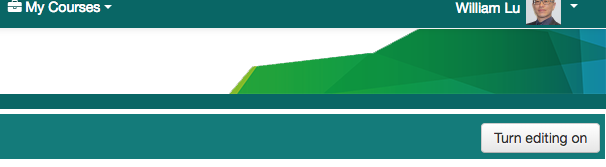
Groups - Restricting Access to Specific Groups1. Click Turn editing on at the top right of your course page:
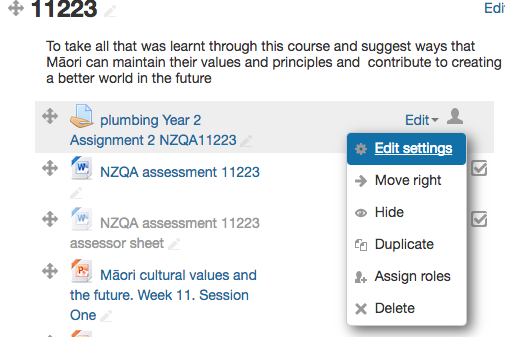
2. Click Edit settings to the right of the activity you want to restrict access to:
or Click Edit topic to the right of the section you want to restrict access to:
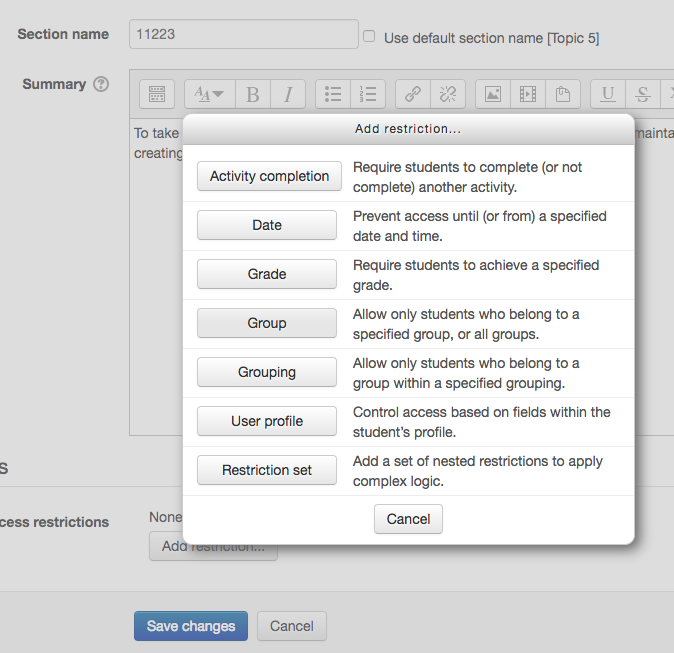
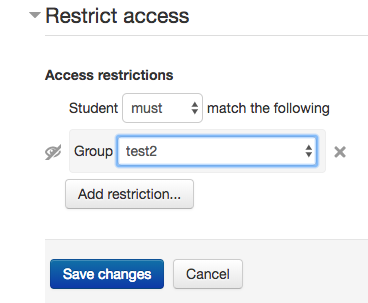
3. Under the Restrict access heading, click Add restriction.
4. Then click on the Group button.
5. Select the group that you want to restrict from accessing the assignment/section from the drop down menu.
6. You can shut off the eye if you want other students who are not in this group to see the warning: "Not available unless..."
7. Save changes. |


Groups - Teaching in a shared courseThis guide is about how teachers can teach in a shared course. Has to be done by the team leader:
Note:
Has to be done by teachers:
Note: |
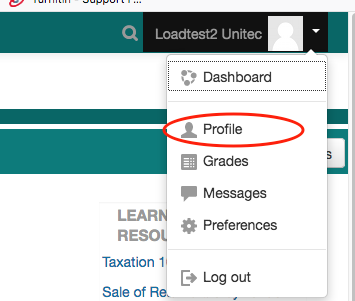
Hide my email from other studentsIf you don't want other students in Moodle to see your email address, you can hide it: 1. Click on your profile photo at the top-right corner, then, click the "Profile" option from the drop-down menu.
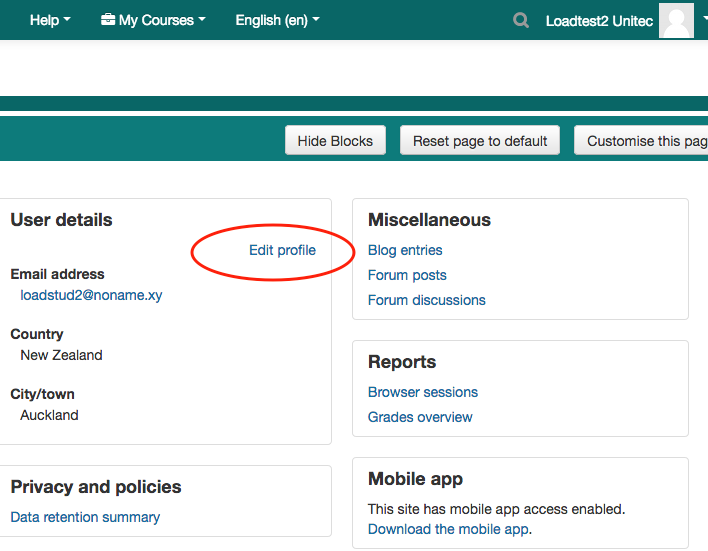
2. Click the "Edit profile" link.
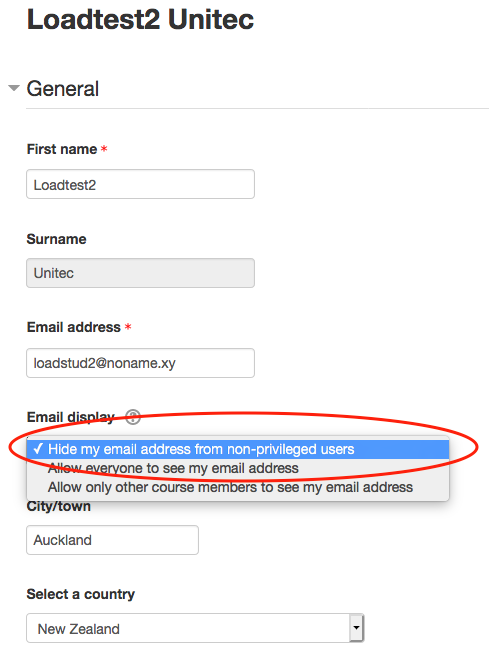
3. Select the "Hide my email address from non-privileged users" option from the "Email display" drop-down menu. (non-privileged users means students, guests, visitors. Privileged users, such as teachers and managers, will always be able to see your email address.)
4. Save your changes by scrolling down the page and clicking the "Update profile" button.
|
Horizontal ruleIt is possible to make a beautiful horizontal rule in Moodle. Here is an example which you can add to your own course by clicking the < > button and pasting the following code. <hr style="height:8px; color:##800000; background-color:#800000;" width="75%"> The horizontal rule is a great way to separate resources and activities into manageable chunks, display subtopics in sections. |
How to Clear the Cache?Your internet browser's cache stores certain information (snapshots) of webpages you visit on your computer or mobile device so that they'll load more quickly upon future visits and while navigating through websites that use the same images on multiple pages so that you do not download the same image multiple times. Occasionally, however your cache can prevent you from seeing updated content, or cause functional problems when stored content conflicts with live content. You can fix many browser problems simply by clearing your cache. An easy way to reload a page and bypass the cache (force-reload page) involves using keyboard shortcuts. Generally, the keyboard shortcut [Ctrl] + [F5] will work. But ultimately, this depends on what browser you are using.
|
How to copy a Quickmarks
|
How to import content from one course to anotherOnce a programme template has been decided on, you can import it over the top of your own course. It will not affect any of your existing content, and you may find that you need to move things around once the template is in place to make the content fit. Some people choose to start from a blank template (start from scratch) and then import the existing content they want to keep from their old course into their new one. This is also an option. If you would like a new course (your old course will be left as it is), please fill out this form. One of the eLearn team will process this request and you will be emailed when your new course is ready for you to use. If you would like to import the programme template over your existing course, please follow the instructions below. Note: You must have editing teacher access to both the template course and your own course. If you do not have editing teacher access to the template course, please speak with another teacher in your programme, they can assign you access. 1. Go to your own course 2. You may need to tidy up the first section in your own course and remove everything from that section 3. Course Administration (block) > Import 4. Find the template course in the list, or search for it using the search box 5. Select that course and click "Continue" 6. Leave all three options ticked (include activities, include blocks, include filters) and click "Next" 7. Scroll to the bottom of the Schema Settings page and click "Next" 8. Scroll to the bottom of the Confirmation and Review page and click "Perform Import" 9. Depending on how much is in the template, you may need to wait a few seconds. You will receive a confirmation screen saying that the import has been successful. Click "Continue" to return to your course, where you should see the new template applied. |