Enrolment - Removing people from your course (unenrolling users)Removing staff or students from your course works exactly the same. You can remove staff and students who have been manually enrolled or self-enrolled. You cannot remove students who have been enrolled by "external database" (PeopleSoft). Staff or students enrolled by "course meta link" must be unenrolled from the source course to be unenrolled from yours. Staff (or sometimes students) who are enrolled by "category enrolment" cannot be removed by you, as they have been assigned to their role at the category level to all courses in that category. If you feel that there are staff there by mistake, please contact your programme administrator or elearn@unitec.ac.nz to clarify. Instructions for removing manually or self-enrolled students:
Done! |
Enrolment - Self-enrolmentThis lets students enrol themselves in your course. You can put a password on so that not every student can just enrol. NB: students who have self-enrolled must either unenrol themselves from the course when they are done, or the teacher must unenrol them manually. They will not be removed automatically when the course finishes. Instructions:
(we recommend deleting guest access as this will make the 'Enrol me' button to be located in an obvious pace) |
Groups - Teaching in a shared courseThis guide is about how teachers can teach in a shared course. Has to be done by the team leader:
Note:
Has to be done by teachers:
Note: |
Remove manually enrolled studentsManually enrolment has no effect on student accessibility to Unitec Moodle. Student enrollment is controlled by PeopleSoft only. As an Editing Teacher role, you can manually enrol a user, it looks fine from your teacher’s view. But, it only works for Staff. Even a student's name appears in your participant list, they still can’t access your course, because their account is not activated yet. Even worse, the inactivated manually enrolled account will cause unpredict issues which will incur complaints to Unitec. Please remove all manually enrolled students to avoid any further issues. |
Remove users |


Resizing images before uploading to MoodleIt is often best to resize images before you upload them to Moodle. This makes their file size smaller, and means less data your students have to download every time they view the image. Here is a quick instructional video on resizing an image using a free browser-based tool called Pixlr Editor. You don't have to install something, just go to the Pixlr website and start using it! Instructions:
It is now ready to upload to Moodle! |
Resizing images in MoodleYou can do this using free software such as Gimp or Paint.NET. On a Windows machine, you can use the inbuilt Paint software to resize images. On Macs, you can use iPhoto. If you need to tweak an image size slightly after uploading, it's easy.
NB: Super hint! If you wish an image to resize automatically to the size available on the screen, then remove the height property in the image dimensions, and add 100% (or whatever percentage) to the width property! The image will then scale / resize automatically!
Resize this window and see the difference between these two pictures. One will resize, the other will not:
|


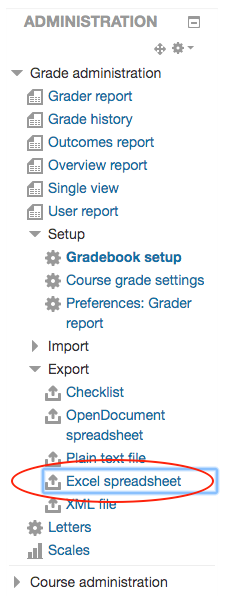
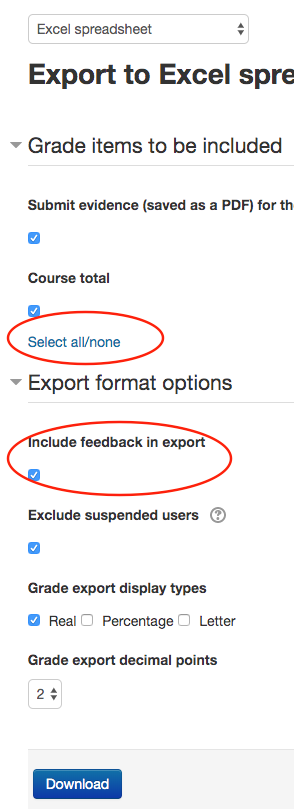
Download/Backing up Moodle GradebookIt is important to note that student submissions/responses/results/grades will disappear from Moodle 16 days after the enrolment end date. You should ensure you have downloaded and saved them before that deadline. If you should need to retrieve a student's data/grades, you can manually re-enrol the student into the Moodle course. Please remember to un-enrol this student when you have downloaded what you need. If you need to download grades for the whole class, you will need to manually re-enrol every student in the cohort. After that, please go to each Quiz and click the "Regrade all" button. 1. In the ‘Course administration’ block, click the ‘Gradebook setup’ link: 2. In the ‘Export’ dropdown menu, click the ‘Excel spreadsheet’ link: 3. Tick all options, then click the ‘Download’ button and save the file. |
Grades - Grader report (analytics)The grader report is the grid view that teachers see. Students see the user report, as they can only see their own grades.
There can be quite a bit of sideways scroll on this page, so be prepared to scroll to the bottom, then scroll to the right. Do not alter assignment grades through the grader report! Use the assignment grading page. Only manual grade items should be altered through the grader report. |

Grades - moodle Gradebook setup / Weighted mean of gradesIt is important to differentiate between the moodle gradebook found on your moodle course and the Unitec gradebook accessed through The Nest. These two systems are not the same and are not linked together. It is however possible to make the moodle gradebook in your moodle course correctly align with the weightings for the various assessment activities. This will provide better feedback for your students about their current progress and make your final input of grades into the Unitec gradebook much simpler. |