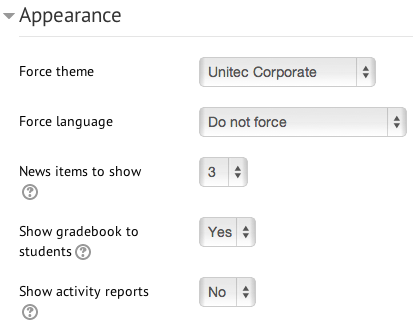
Course settings - Appearance
Force theme - If set to "Do not force" then the default theme (which you see on the front page of Moodle) will be used. Otherwise you can choose from a list of themes. Force language - we recommend leaving this to "Do not force". This way students can choose their own language from the language drop-down menu in the menu bar. News items to show - if you are using the "recent news" block, then this determines how many items it will display. Show gradebook to students - determines whether students can see the Moodle gradebook for their own grades. Show activity reports - determines whether students can see their own activity reports in the course. Teachers can always see activity reports, no matter what this is set to. |
Course settings - Completion tracking |

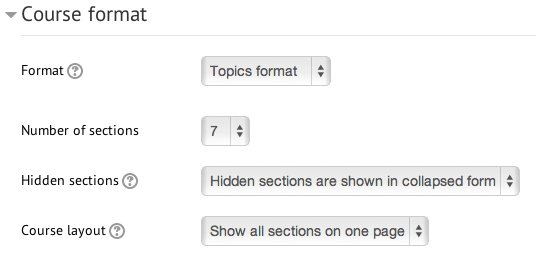
Course settings - Course format
Number of sections - if you chose Topics or Weekly as your format, this determines the number of section/topic/week boxes you have on your page. Hidden sections
Course layout
|
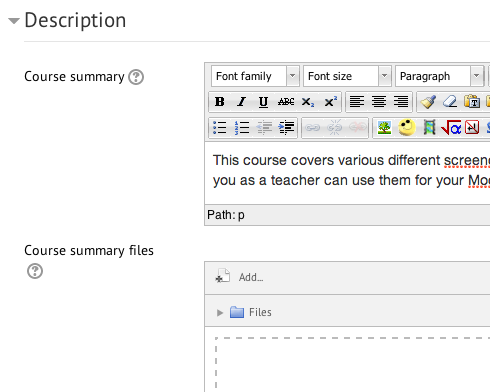
Course settings - Description |
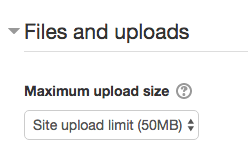
Course settings - Files and uploadsYou can increase or decrease the file upload size by: Turn editing on> Administration>Edit settings>Files and Uploads
Maximum upload size - determines the largest size of file that can be uploaded to the course. Activity modules also include a maximum upload size setting for determining the file size. |
Course settings - General
Course full name is the full name of the course that will be displayed in the "My Courses" menu and block. They should follow this format: PeopleSoftID - Course full name eg ETEC3821 - Electrical Fundamentals A Course short name is displayed in the navigation/breadcrumb menu. This should be your PeopleSoftID code. Category should be the programme or department your course is in. Visible should be set to "show" if you wish students to see, "hide" if you wish only teachers in the course to see it (ie it is under maintenance). Course start date - ignore this, it doesn't affect anything. PeopleSoft ID - if you want your students to be automatically enrolled into your course, make sure your correct course PeopleSoft ID code is entered here. |

Course settings - GroupsYou can create Groups, and add specific students to it. The purpose of this might be to give feedback to groups of students working together which is only relevant to that group. To create Groups, first go to the Administration Block>Edit Settings>Groups. Then fill in fields. Then you can go back to Users>Groups>Create groups. After that click add/remove users to add students to your Groups.
We generally recommend leaving these settings as you see above. Group mode
The group mode defined at course level is the default mode for all activities within the course. Each activity that supports groups can also define its own group mode, though if the group mode is forced at course level, the group mode setting for each activity is ignored. Force group mode If group mode is forced, then the course group mode is applied to every activity in the course. Group mode settings in each activity are then ignored. Default grouping You can choose a default grouping for all activities in the course to be available for. |

Email notificationsAdjusting all email notifications from Moodle
Then you will see a long list of events that Moodle can send email notifications for. Choose which of them you wish (or don't wish) to receive by email, by using the check boxes. When you are done, click "Save" About email notifications from Moodle Moodle is not an email platform. If you wish to email your students, please email them! Moodle does sometimes send email notifications of events that happen on Moodle such as:
These notifications sometimes fail, so they are not a reliable way of emailing your students. To email your students, send them an actual email. Adjusting forum email digest settings
|
Enable JavaScript on browsersGoogle Chrome
Internet Explorer
Mozilla Firefox
Apple Safari |
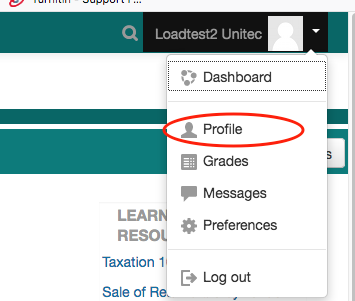
Hide my email from other studentsIf you don't want other students in Moodle to see your email address, you can hide it: 1. Click on your profile photo at the top-right corner, then, click the "Profile" option from the drop-down menu.
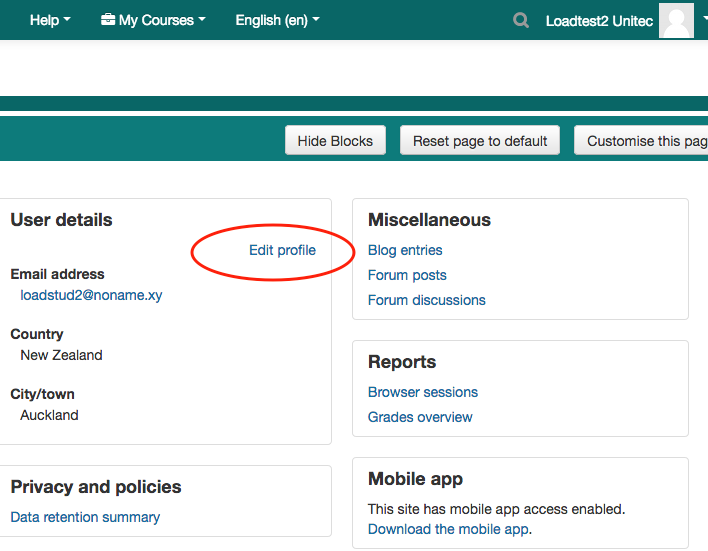
2. Click the "Edit profile" link.
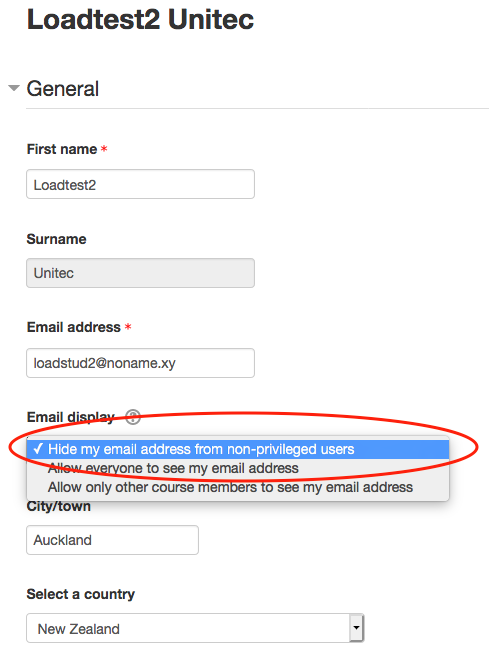
3. Select the "Hide my email address from non-privileged users" option from the "Email display" drop-down menu. (non-privileged users means students, guests, visitors. Privileged users, such as teachers and managers, will always be able to see your email address.)
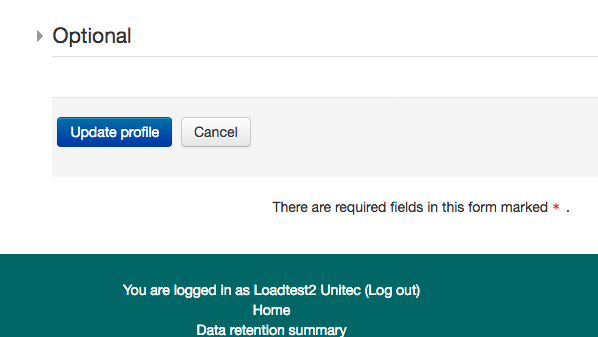
4. Save your changes by scrolling down the page and clicking the "Update profile" button.
|
Tame your Google Gmail filterWhy I didn't receive any email from Moodle?Unfortunately, there's no easy way for you to ensure your emails don't hit the Promotions tab. It's also unclear how Gmail decides whether an email is "promotional" or not. Below is how to "teach" a gmail account to treat your emails as primary. This can be done by clicking on the email (without opening it) & dragging it to the "primary tab". You will then see a message that says: "The conversation has been moved to "primary". Undo Do this for future messages from "email address x"?Yes" If you click yes, all future emails from that address will go to the primary tab. This will certainly work for each individual who does it, I.e.. Each person who does it, their gmail account will always send your emails to the primary tab. |
Why am I not getting emails from Moodle?If you are a teacher, but your Moodle profile email is not the one you are using now, then you should change it to the right one. If you are a student, our Moodle updates your profile every day according to your Unitec Student Portal data. you should NOT change your email in Moodle, because of the change will be overwritten by PeopleSoft overnight. So please change your email here: https://myportal.unitec.ac.nz/welcome, then wait for the next day to see your Moodle email updated. If it is the right email but you didn’t get any email from Moodle, they might land into your Junk mails or Spam folder. Follow the link below to the guide of how to tame Gmail. Hotmail and other Email Apps should be similar. https://moodle.unitec.ac.nz/mod/glossary/showentry.php?eid=595Another possibility (unlikely) is that you had turned off the Moodle notification at some stage. Follow the link below to the guide of how to turn it back on: https://moodle.unitec.ac.nz/mod/glossary/showentry.php?eid=572 |