How to Clear the Cache?Your internet browser's cache stores certain information (snapshots) of webpages you visit on your computer or mobile device so that they'll load more quickly upon future visits and while navigating through websites that use the same images on multiple pages so that you do not download the same image multiple times. Occasionally, however your cache can prevent you from seeing updated content, or cause functional problems when stored content conflicts with live content. You can fix many browser problems simply by clearing your cache. An easy way to reload a page and bypass the cache (force-reload page) involves using keyboard shortcuts. Generally, the keyboard shortcut [Ctrl] + [F5] will work. But ultimately, this depends on what browser you are using.
|
Grades - Marking workflowMarking workflow allows for results of assignment type activities to sit in a number of different states prior to being released to students. This is only available for assignment type activities not quiz. On a basic level this allows results to be hidden from students until you're ready, but also allows for assessors to keep track of the state of individual student's assignment through a mark->review->release workflow. Enable marking workflowEdit the settings for the assignment activity:
Under the Grade area of the Edit settings page, set Use marking workflow to Yes
Save your changes, you have now enabled marking workflow for this assignment. Using marking workflowWhen you are ready to grade an assignment click on the assignment and then View/grade all submissions as normal
In the grading page is where you can start to see marking workflow options appear, the default marking workflow state is Not marked, you can see this under the status column of the assignment grading page.
When grading an individual assessment there is now an option to set marking workflow state, any state other than "Released" will hide the current grade from the student.
Changing the marking workflow state of multiple submissionsIt is also possible to change the marking workflow state for multiple or all students who have participated in an assignment. Go to the assignment grading page and use the check boxes down the left hand side to select multiple or all participants in the list.
Now down the bottom you have an option to act on the selected participants
Click Go and you will be taken to a Set marking workflow state for (multiple) users page, scroll to the bottom of the page and select the new marking workflow state and then click Save changes.
All the selected participants activities are now set to this new marking workflow state |


Download/Backing up Turnitin assignments and gradesAn inactive Turnitin activity (link) is problematic for you because if anyone clicks on the Turnitin activity, it will incorrectly enrol all the previous years students into your current Moodle course, user list and gradebook. If you want to keep your students work from this Turnitin activity, you can download their submissions (with your grades) to your computer by following these easy steps below: 1. In your Moodle course, go to your Turnitin assignment page and change the list option from "Show 10" to "Show All" (See the screen shot below). 2. Select the check box beside "Student" to select all students' assignments. 3. Click "Download". 4. Select "Selected GradeMark Files". It may take a long time to download. Please be patient. 5. Click on "Turnitin Messages Inbox" to check if students' assignments have been downloaded. If so click on "bulk download" to save it onto your computer. Then delete the online copy by clicking on the red recycle bin icon beside it. That's all.
6. You can then delete this Turnitin assignment from your Moodle course. |

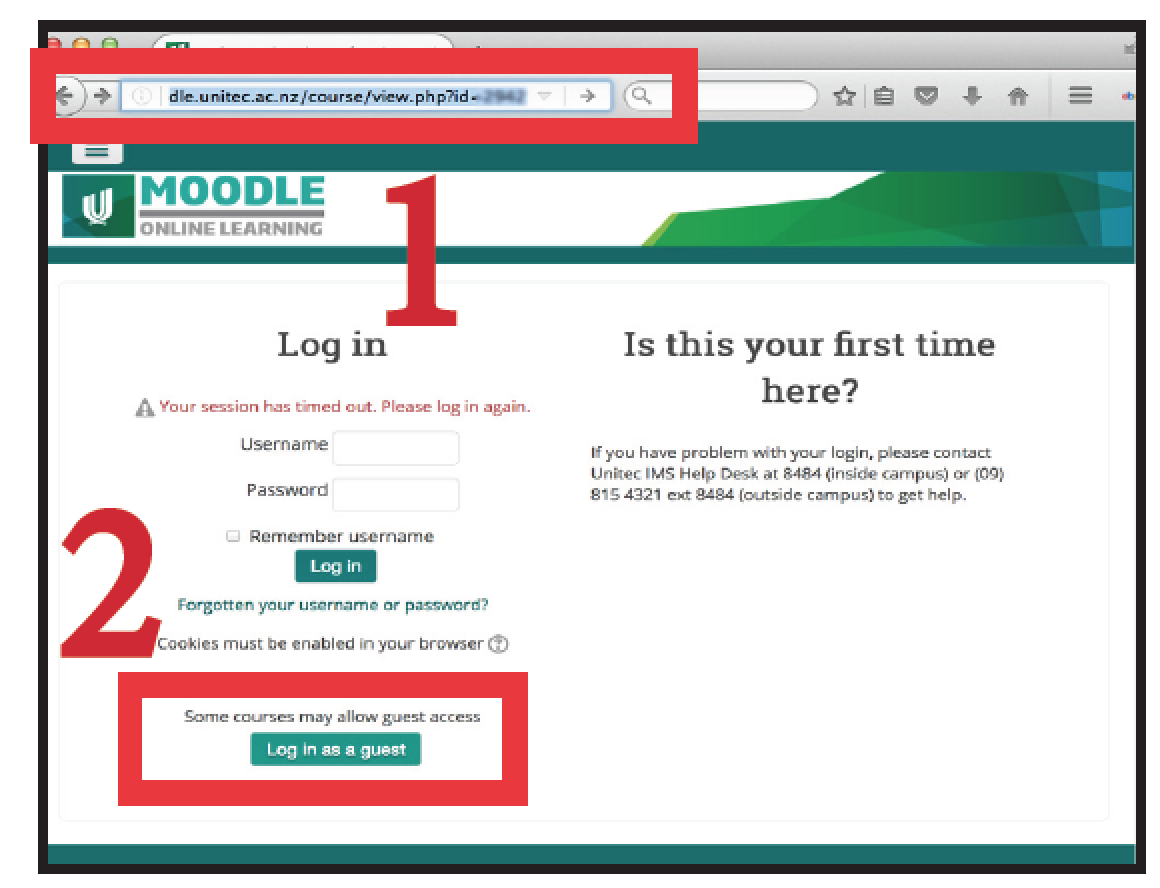
Enrolment - Guest access info for studentsHow to access a course as “Guest” Step 1: Follow the course link which your tutor gave to you, i.e:
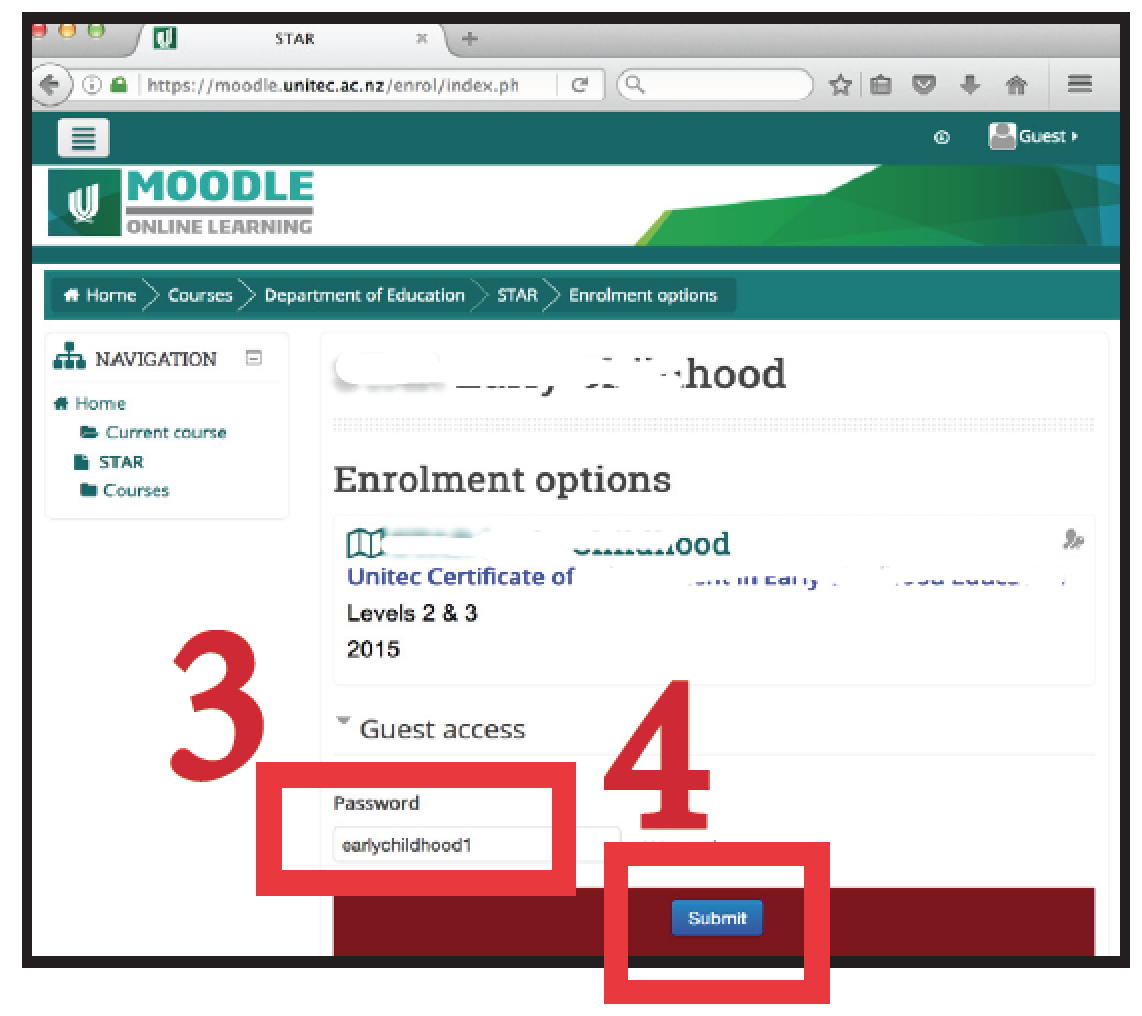
Step 2: Click on the button: “Log in as a guest” Step 3: Enter the password which your tutor gave to you.
Step 4: Click on the button: “Submit” Tip: Note: |
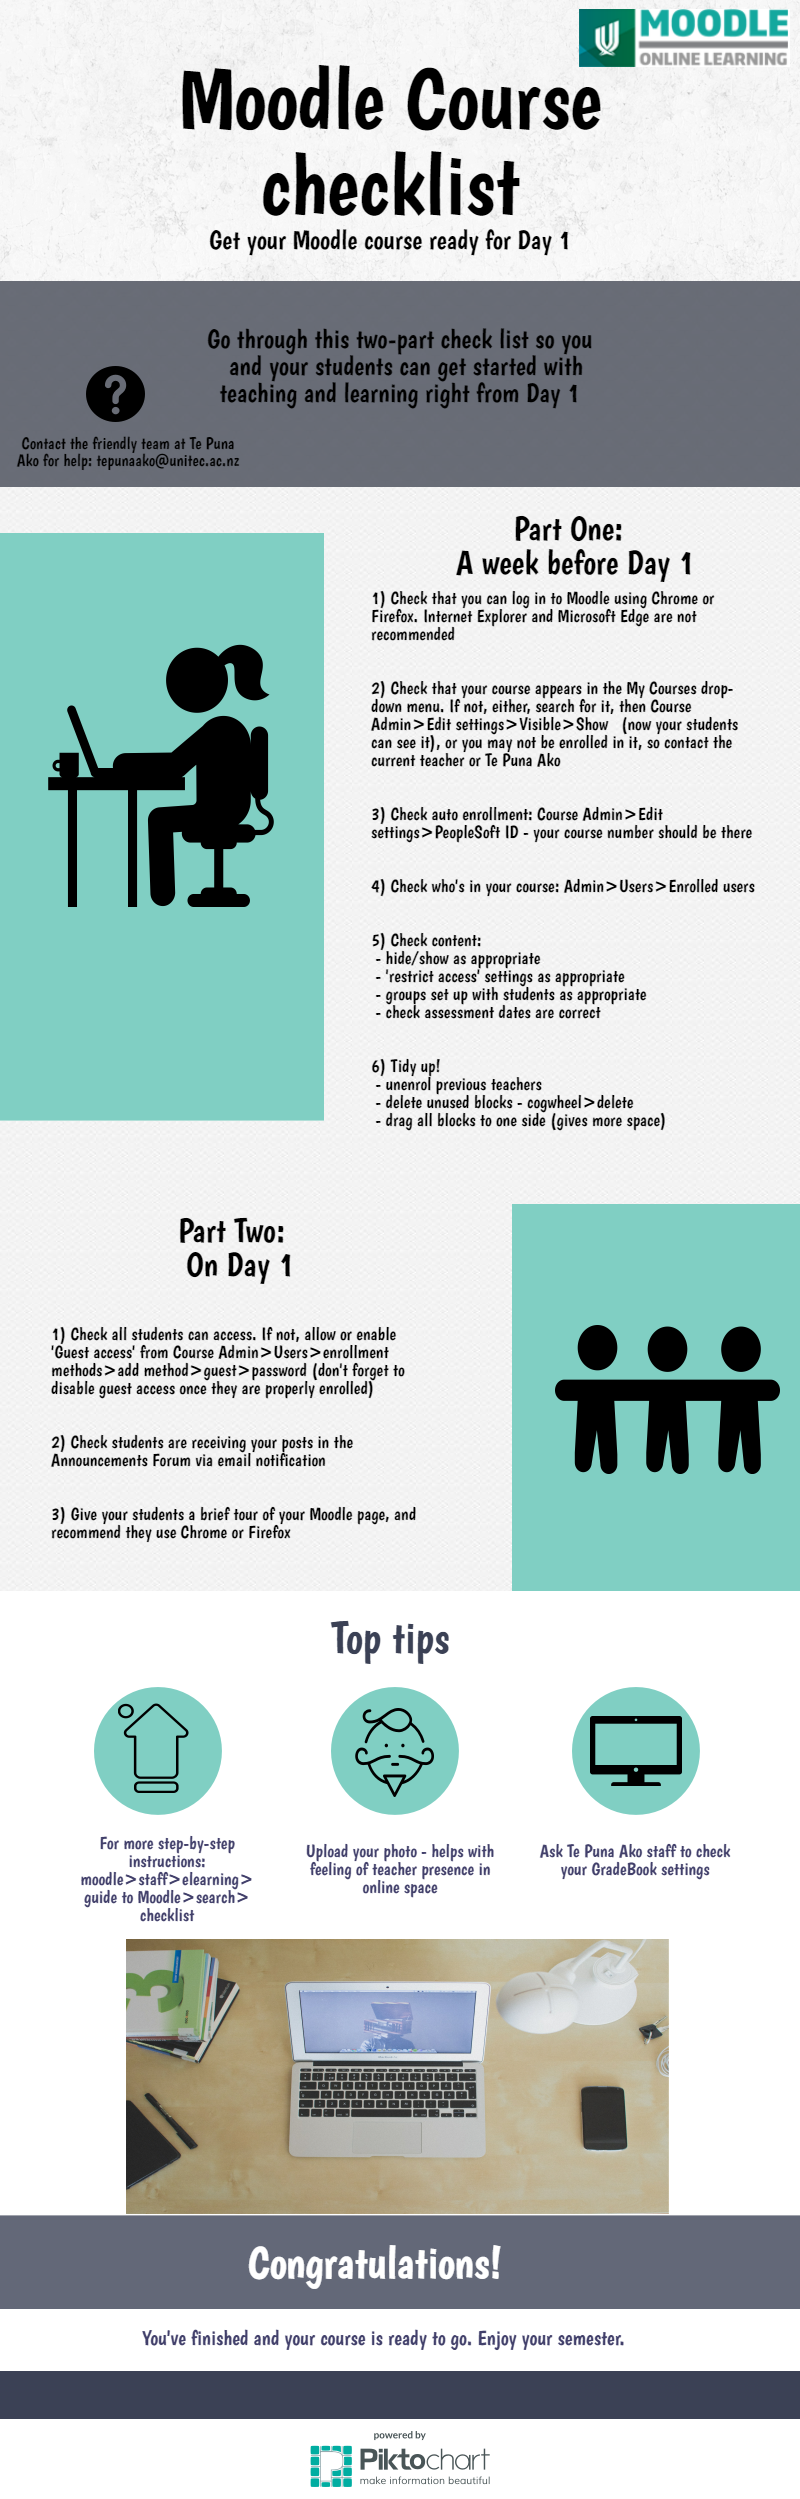
Checklist |
Delete manually enrolled users |

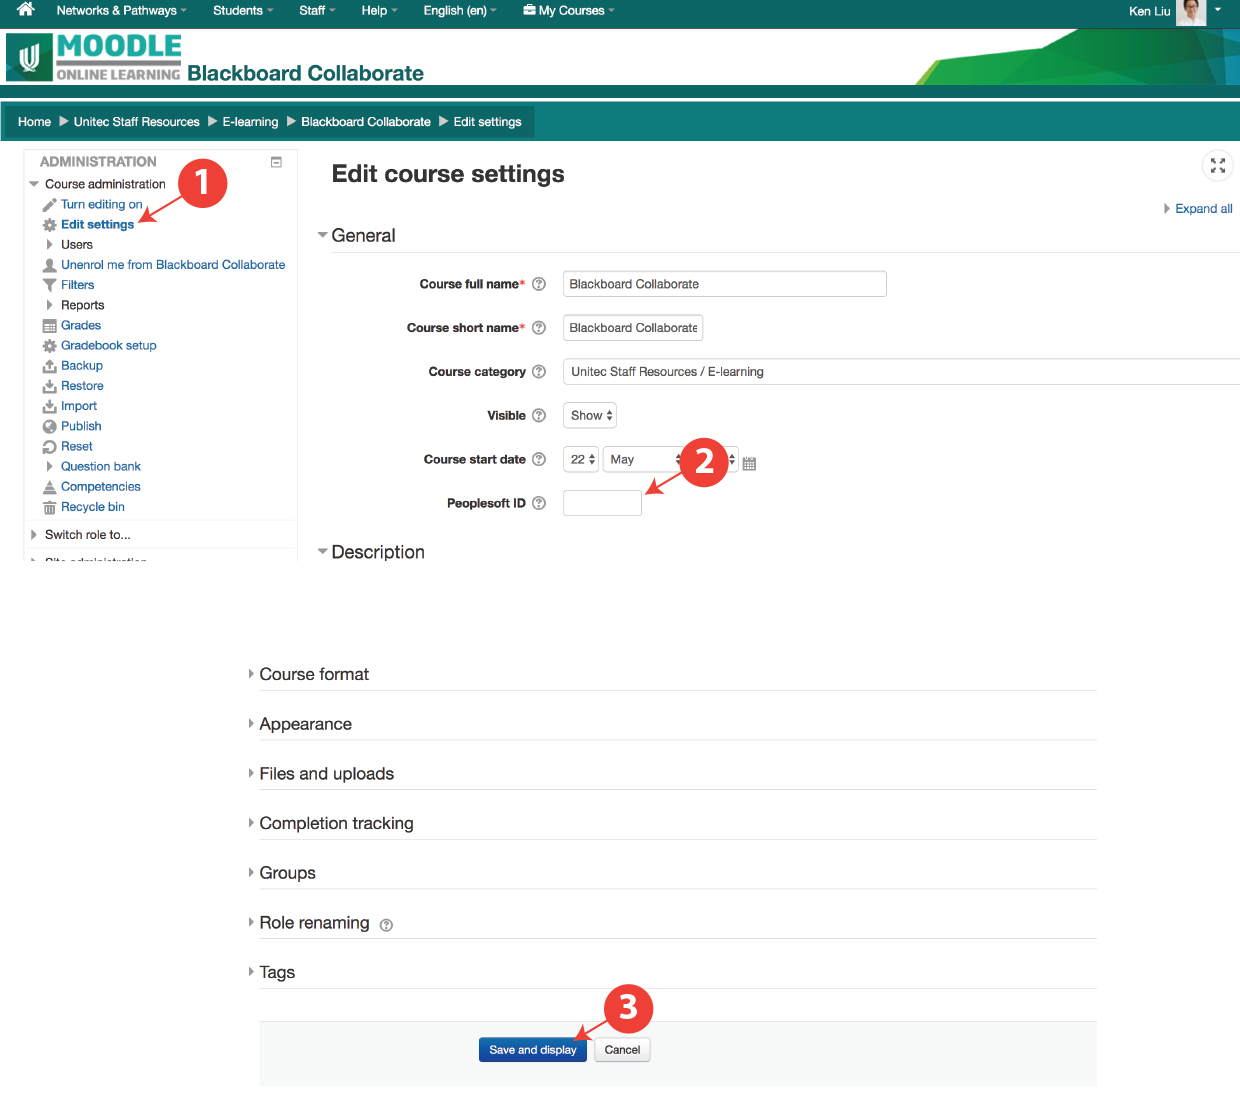
Enrolment - Enrol your students into Moodle
Follow the steps below to enter your PeoplesoftID into Moodle:
|
Reset Turnitin assignment
Option 1: (Copy) says Create Duplicates, New Turnitin Class.... |

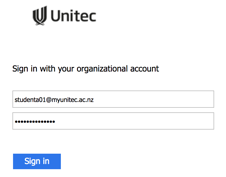
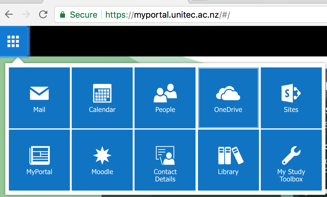
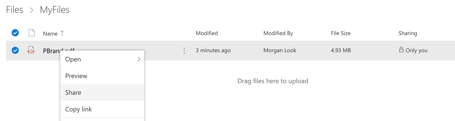
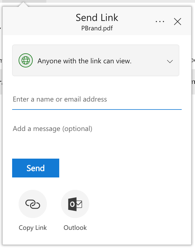
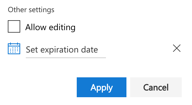
Upload a big fileWe cannot recommend moodle for submissions of files of this size, file submission data is stored in the moodle database which is both very expensive and limited. This is in addition to potentially causing problems for the server when uploading and downloading files of this size. Our recommendation is that students share their files with you using OneDrive, this is a Microsoft service provided for students by Unitec, unlike moodle it is intended for file storage and sharing.
|

Activities - Turnitin MarkingHere are several videos introducing quick ways to mark Turnitin assignments.
|