Activities - ChatThe chat activity module enables participants to have text-based, real-time synchronous discussions. The chat may be a one-time activity or it may be repeated at the same time each day or each week. Chat sessions are saved and can be made available for everyone to view or restricted to users with the capability to view chat session logs. Chats are especially useful when the group chatting is not able to meet face-to-face, such as
|
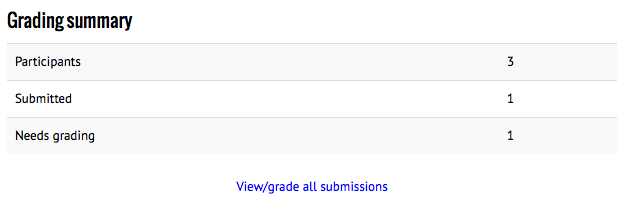
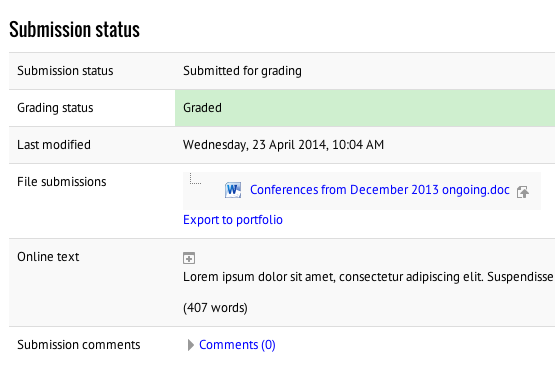
Activities - Assignment - Grading assignmentsOnce students have submitted assignments, you will see this information when you visit the assignment module in your course:
Click "View/grade all submissions" You will see a grid view of all your students and their submissions. Students who have submitted will have a green "Submitted for grading" box under "Status".
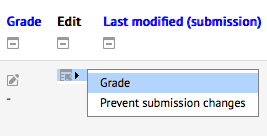
To grade, click the small pencil icon next to it, or hover over the icon in the "Edit" column for more options.
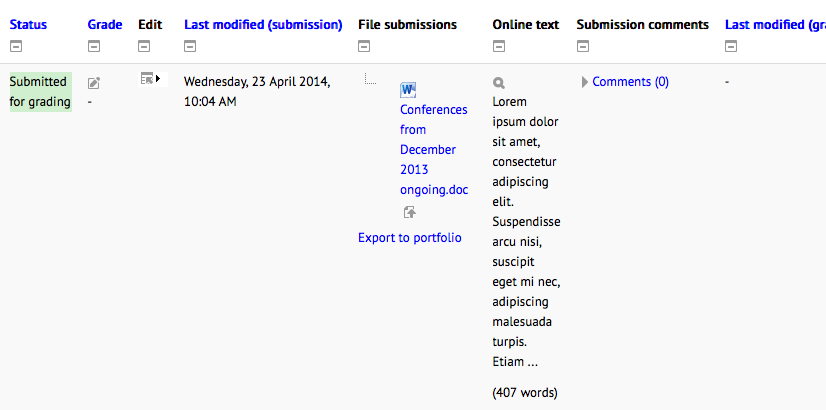
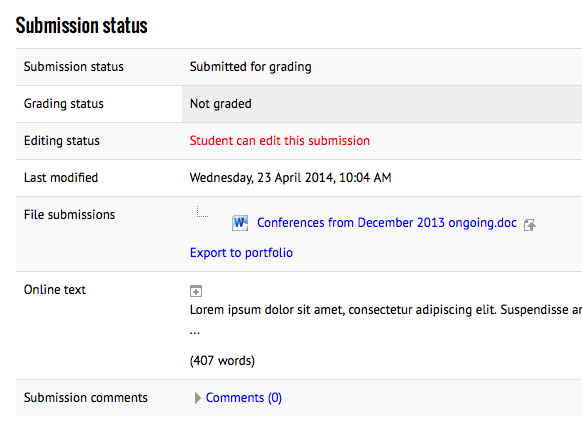
The grading view gives you an overview of the student's assignment:
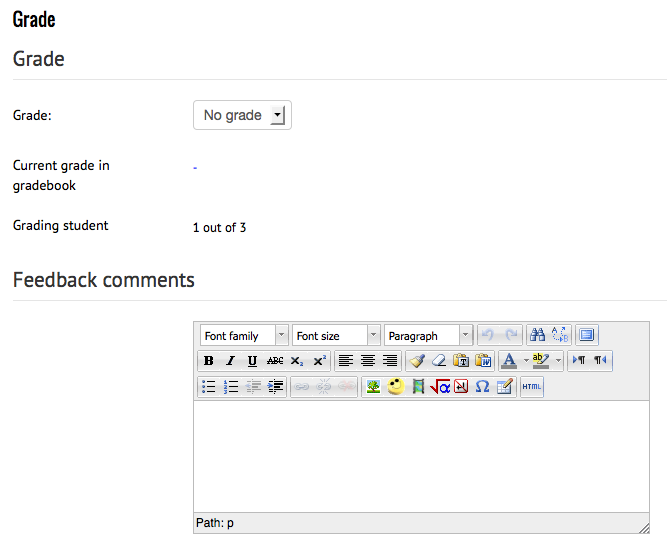
From here you can download the file, or click the "+" button above the online text to view the full online text submission. If the student has added submission comments to their assignment, they will also show here where it says "Comments (0)". Further down you can grade the assignment using the drop down menu (if you have chosen a custom grading scale) or if you have chosen a number grade then you will get a small box to type the grade into.
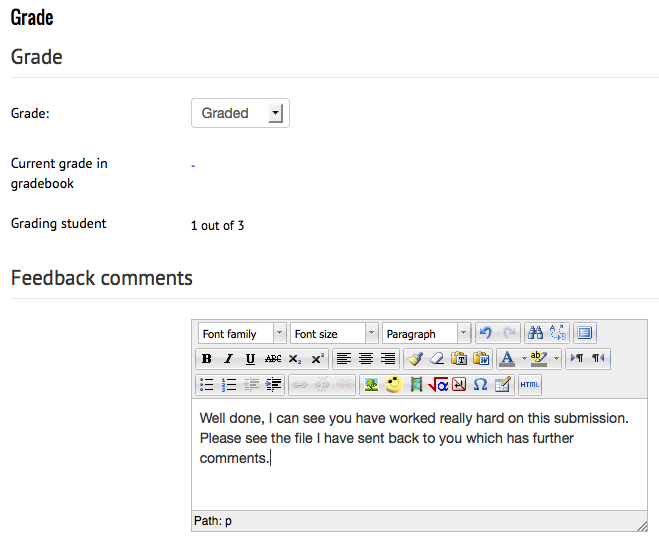
There is also a box for putting your feedback into. NB - an assignment's grade MUST be filled out or changed from "No grade" before the student can see any feedback! No grade, no feedback!
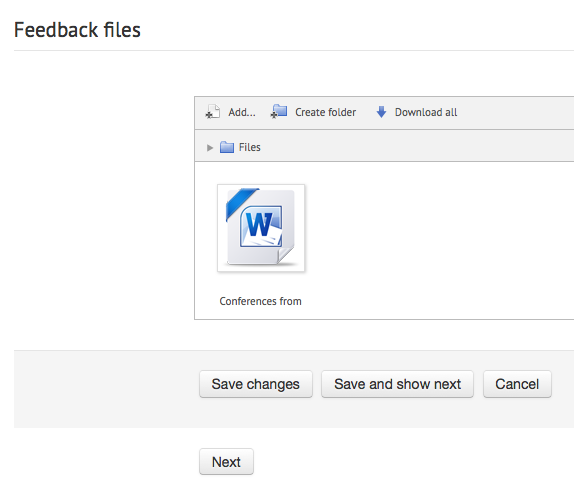
If you enabled the ability to add feedback files, you will see an upload box underneath the comments section for you to upload the feedback file to the student. This can be their own assignment, sent back to them with comments all over it.
Once you are done, either click "Save changes" if this is the only student you are giving feedback to, or "Save and show next" if you are grading all of your students. Clicking "Cancel" or "Next" will lose your grade and feedback information! |
Activities - Assignment - Setting up an assignmentFrom the "Add an activity or resource" menu, choose "Assignment"
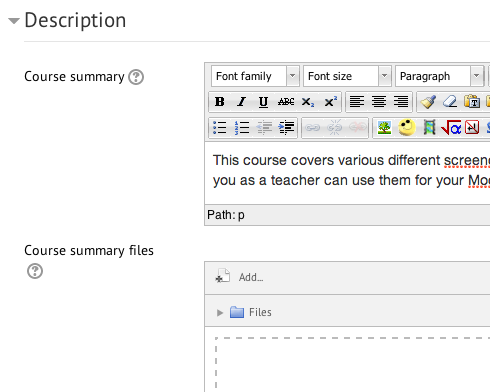
Assignment name - Give the assignment a descriptive name Assignment description - This is a good place for the assignment information and marking criteria Display description on course page - checking this will display the assignment description directly below the assignment name on the course page. Otherwise students will see the description when they click on the assignment name to view the assignment.
Allow submissions from - If enabled, students will not be able to submit before this date. If disabled, students will be able to start submitting right away. Due date - This is when the assignment is due. Submissions will still be allowed after this date but any assignments submitted after this date are marked as late. To prevent submissions after a certain date - set the assignment cut off date. Cut-off date - If set, the assignment will not accept submissions after this date without an extension. Always show description - If disabled, the Assignment Description above will only become visible to students at the "Allow submissions from" date.
Submission types
Maximum number of uploaded files - If file submissions are enabled, each student will be able to upload up to this number of files for their submission. Maximum submission size - Files uploaded by students may be up to this size.
Feedback comments - If enabled, the marker can leave feedback comments for each submission. Offline grading worksheet - If enabled, the teacher will be able to download and upload a worksheet with student grades when marking the assignments. Feedback files - If enabled, the teacher will be able to upload files with feedback when marking the assignments. These files may be, but are not limited to marked up student submissions, documents with comments or spoken audio feedback.
Require students click submit button - If enabled, students will have to click a Submit button to declare their submission as final. This allows students to keep a draft version of the submission on the system. If this setting is changed from "No" to "Yes" after students have already submitted those submissions will be regarded as final. Require that students accept the submission statement - Require that students accept the submission statement for all submissions to this assignment. Attempts reopened Determines how student submission attempts are reopened. The available options are:
Maximum number of attempts - The maximum number of submissions attempts that can be made by a student. After this number of attempts has been made the student's submission will not be able to be reopened.
Students submit in groups - If enabled students will be divided into groups based on the default set of groups or a custom grouping. A group submission will be shared among group members and all members of the group will see each others changes to the submission. Require all group members submit - If enabled, all members of the student group must click the submit button for this assignment before the group submission will be considered as submitted. If disabled, the group submission will be considered as submitted as soon as any member of the student group clicks the submit button. Grouping for student groups - This is the grouping that the assignment will use to find groups for student groups. If not set - the default set of groups will be used.
Notify graders about submissions - If enabled, graders (usually teachers) receive a message whenever a student submits an assignment, early, on time and late. Message methods are configurable. Notify graders about late submissions - If enabled, graders (usually teachers) receive a message whenever a student submits an assignment late. Message methods are configurable.
Grade - Select a number that the assignment is graded out of, or one of the custom scales available either from the site level or created at the course level. Grading method Choose the advanced grading method that should be used for calculating grades in the given context. To disable advanced grading and switch back to the default grading mechanism, choose 'Simple direct grading'. Other options are 'Marking guide' and 'Rubric'. Grade category - This setting controls the category in which this activity's grades are placed in the gradebook. Blind marking - Blind marking hides the identity of students to markers. Blind marking settings will be locked once a submission or grade has been made in relation to this assignment. |


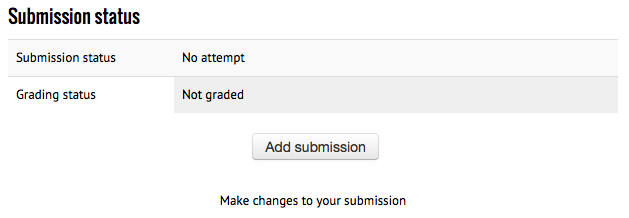
Activities - Assignment - Submitting assignmentsStudents can submit assignments by visiting the assignment activity in Moodle. They will see a submission button (if submissions are open).
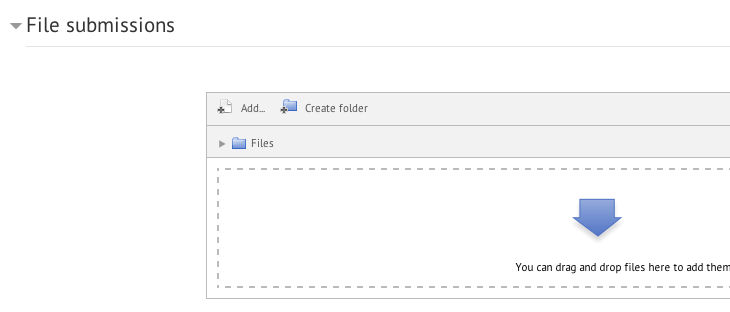
Depending on what has been set up by the teacher, a student may be asked to upload a file:
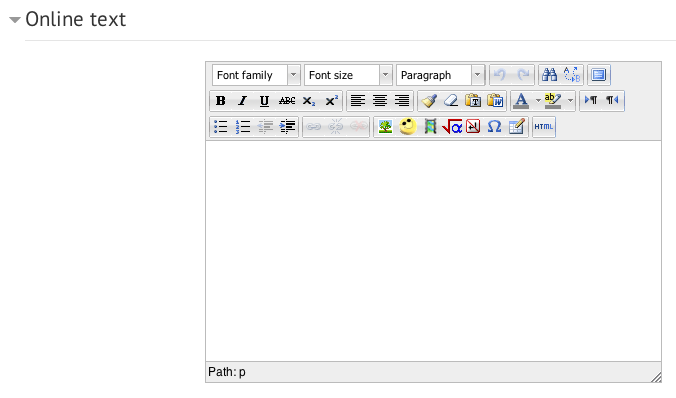
And/or write some text directly into Moodle:
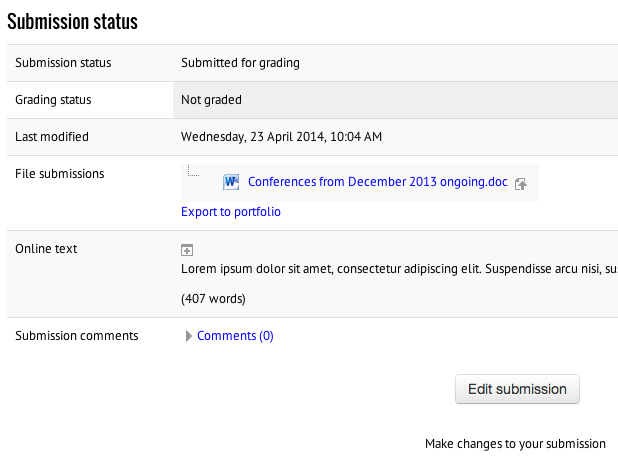
When they are done they click "Save changes". They are then given an overview of their assignment, which they may or may not be able to edit depending on the assignment settings:
Once the teacher has graded the assignment, this view may change to something like this:
And feedback appears underneath:
|

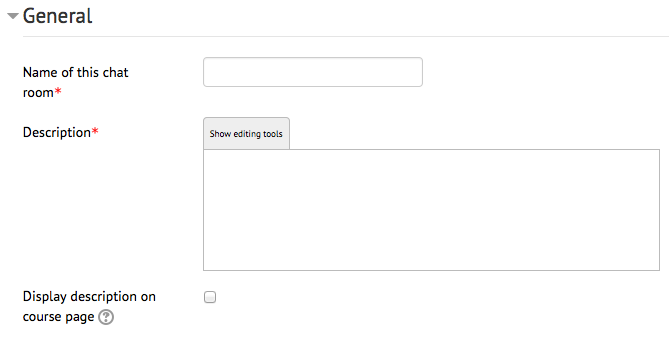
Activities - Chat - Setting up a chat roomChoose "Chat" from the "Add an activity or resource" menu.
Give your chat room a name. Write a brief description (maybe what you wish the students to use the chat room for, some general guidelines/rules). Display description on course page - If enabled, the description above will be displayed on the course page just below the link to the activity or resource.
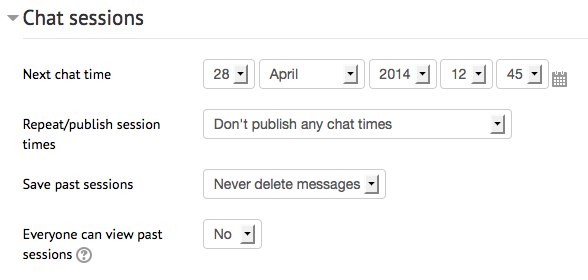
If you want students to be made aware of times that you will be in the chat room, choose a session time. Repeat/publish session times - Choose whether a session time will be published in the course calendar, and how often you are repeating this session time. NOTE - the chat room remains open at all times even outside of the published session times. If you don't want students to use the chat room outside of the published session times, please use the eye to hide the chat room from students. Save past sessions - this determines how long Moodle keeps a record/transcript of chat sessions. Everyone can view past sessions - If set to No, only users have mod/chat:readlog capability are able to see the chat logs (teachers, non-editing teachers). If set to Yes, students can also view past chat sessions. |
Course settings - Completion tracking |

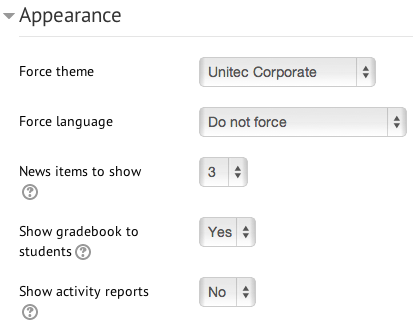
Course settings - Appearance
Force theme - If set to "Do not force" then the default theme (which you see on the front page of Moodle) will be used. Otherwise you can choose from a list of themes. Force language - we recommend leaving this to "Do not force". This way students can choose their own language from the language drop-down menu in the menu bar. News items to show - if you are using the "recent news" block, then this determines how many items it will display. Show gradebook to students - determines whether students can see the Moodle gradebook for their own grades. Show activity reports - determines whether students can see their own activity reports in the course. Teachers can always see activity reports, no matter what this is set to. |
Course settings - Description |
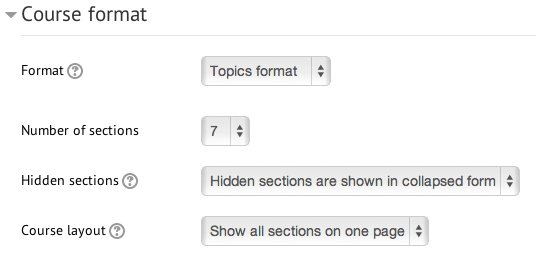
Course settings - Course format
Number of sections - if you chose Topics or Weekly as your format, this determines the number of section/topic/week boxes you have on your page. Hidden sections
Course layout
|
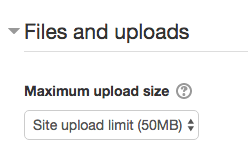
Course settings - Files and uploadsYou can increase or decrease the file upload size by: Turn editing on> Administration>Edit settings>Files and Uploads
Maximum upload size - determines the largest size of file that can be uploaded to the course. Activity modules also include a maximum upload size setting for determining the file size. |