Grade Me blockA block that teachers can add to courses so as to quickly find ungraded assessments. Turn editing on > Add a block > Grade Me
|


Grades - Grader report (analytics)The grader report is the grid view that teachers see. Students see the user report, as they can only see their own grades.
There can be quite a bit of sideways scroll on this page, so be prepared to scroll to the bottom, then scroll to the right. Do not alter assignment grades through the grader report! Use the assignment grading page. Only manual grade items should be altered through the grader report. |

Grades - Manual grade overrideSometimes it is desirable to modify a student's grade from what moodle has generated (for example a quiz grade). This is called manual grade override. Setting these overrides is very easy it's typically just a matter of clicking on the grade while reviewing an activity attempt or submission and typing in a new one. Clearing these overrides is not so straight forward, it requires going into the gradebook setup and removing it. |
Grades - Marking workflowMarking workflow allows for results of assignment type activities to sit in a number of different states prior to being released to students. This is only available for assignment type activities not quiz. On a basic level this allows results to be hidden from students until you're ready, but also allows for assessors to keep track of the state of individual student's assignment through a mark->review->release workflow. Enable marking workflowEdit the settings for the assignment activity:
Under the Grade area of the Edit settings page, set Use marking workflow to Yes
Save your changes, you have now enabled marking workflow for this assignment. Using marking workflowWhen you are ready to grade an assignment click on the assignment and then View/grade all submissions as normal
In the grading page is where you can start to see marking workflow options appear, the default marking workflow state is Not marked, you can see this under the status column of the assignment grading page.
When grading an individual assessment there is now an option to set marking workflow state, any state other than "Released" will hide the current grade from the student.
Changing the marking workflow state of multiple submissionsIt is also possible to change the marking workflow state for multiple or all students who have participated in an assignment. Go to the assignment grading page and use the check boxes down the left hand side to select multiple or all participants in the list.
Now down the bottom you have an option to act on the selected participants
Click Go and you will be taken to a Set marking workflow state for (multiple) users page, scroll to the bottom of the page and select the new marking workflow state and then click Save changes.
All the selected participants activities are now set to this new marking workflow state |


Grades - moodle Gradebook setup / Weighted mean of gradesIt is important to differentiate between the moodle gradebook found on your moodle course and the Unitec gradebook accessed through The Nest. These two systems are not the same and are not linked together. It is however possible to make the moodle gradebook in your moodle course correctly align with the weightings for the various assessment activities. This will provide better feedback for your students about their current progress and make your final input of grades into the Unitec gradebook much simpler. |
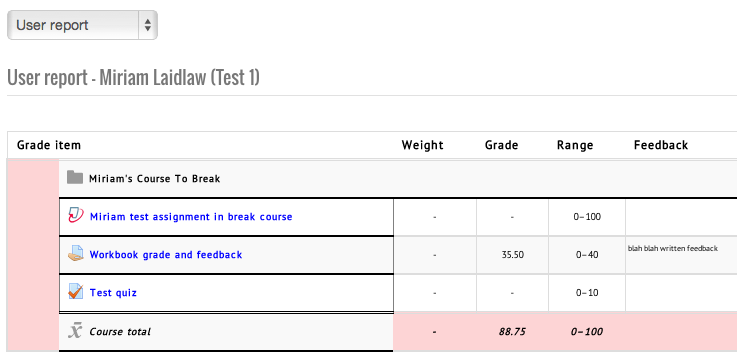
Grades - User report (analytics) |
Groups - Adding/removing groups from groupingsOnce you have created your groupings and your groups, you need to assign groups to groupings.
Removing groups follows the same process, but instead of selecting the group from the right hand list and clicking "Add", you select it from the left hand list and click "Remove". |
Groups - Adding/removing users from groups
|
Groups - Creating groups
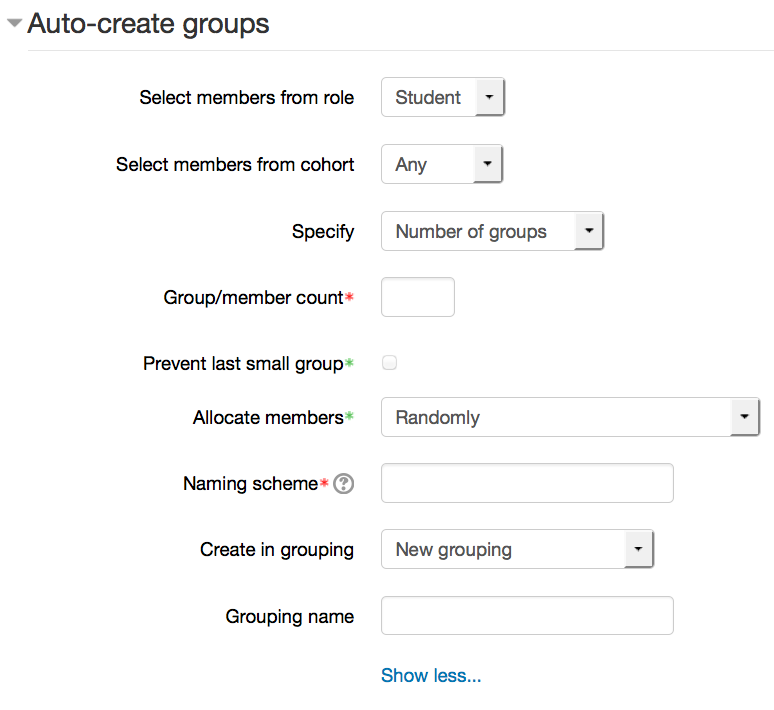
Auto create groups
Select members from role - The members of your group will be selected from the pool of students by default. If you want to include teachers and students in the auto-creation, change this to "All". Select members from cohort - Only site administrators should see this setting. Specify - number of groups or members per group - do you want to break the class up into a specific number of groups, or by the number of people per group? Group/member count - this field is required and is linked to the previous setting. i.e. If you want your students split into 3 groups, put 3 in here and have "number of groups" for the previous setting. Prevent last small group - If there are not the right numbers to make even groups, often one group will be created that is smaller than the rest. Checking this will distribute those students amongst the existing groups instead, even if it pushes the numbers above the ones you specified for maximum members in a group. Allocate members - your options are randomly, alphabetically by first name last name, alphabetically by last name first name, alphabetically by ID number. Naming scheme - The at symbol (@) may be used to create groups with names containing letters. For example Group @ will generate groups named Group A, Group B, Group C, ... The hash symbol (#) may be used to create groups with names containing numbers. For example Group # will generate groups named Group 1, Group 2, Group 3, ... |
Groups - Restricting Access to Specific Groups1. Click Turn editing on at the top right of your course page:
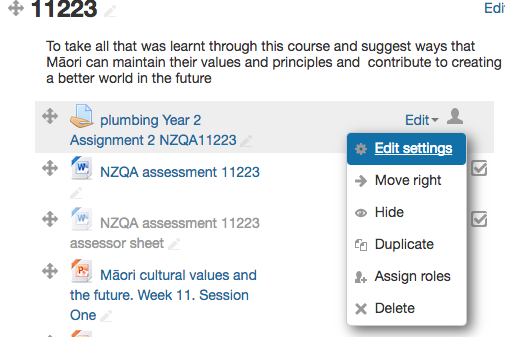
2. Click Edit settings to the right of the activity you want to restrict access to:
or Click Edit topic to the right of the section you want to restrict access to:
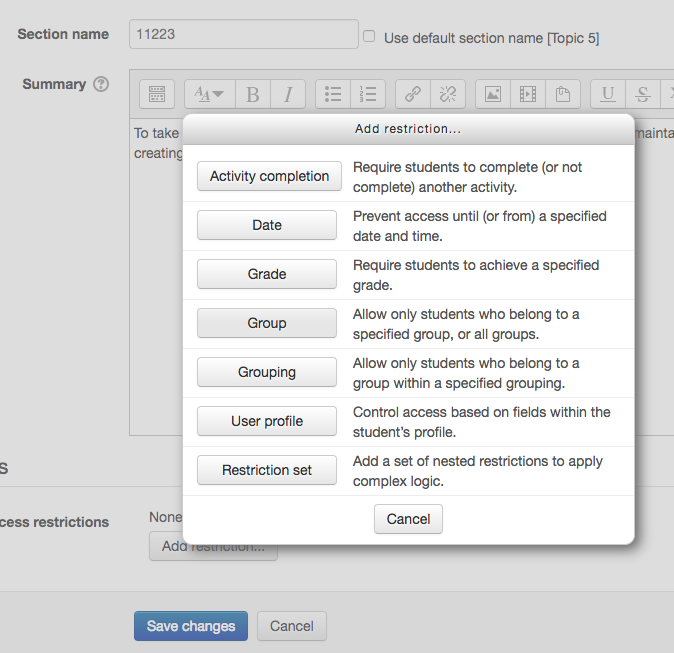
3. Under the Restrict access heading, click Add restriction.
4. Then click on the Group button.
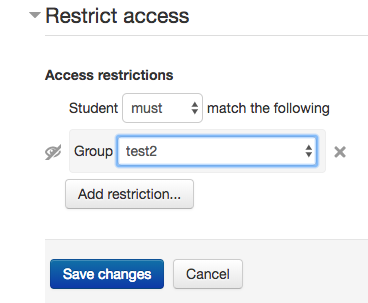
5. Select the group that you want to restrict from accessing the assignment/section from the drop down menu.
6. You can shut off the eye if you want other students who are not in this group to see the warning: "Not available unless..."
7. Save changes. |