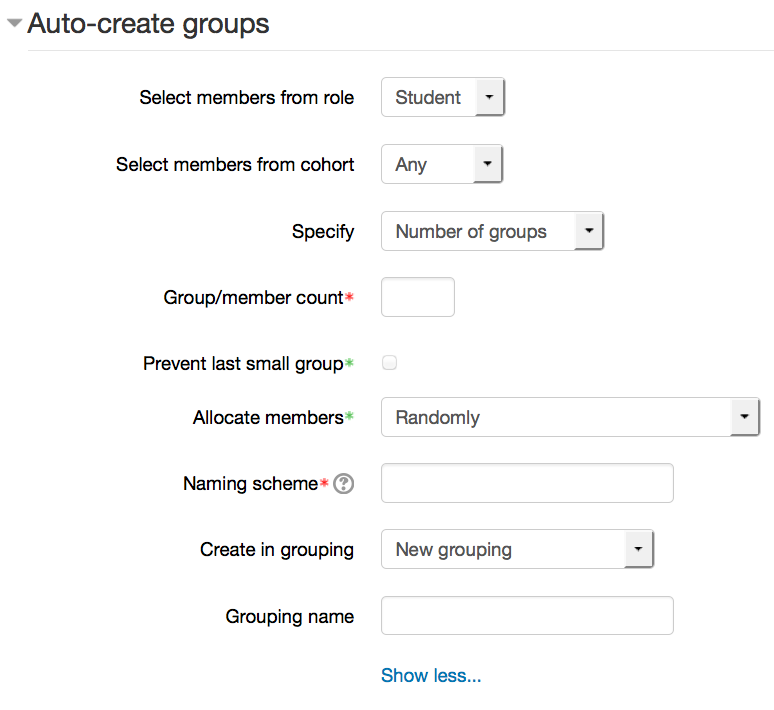
Select members from role - The members of your group will be selected from the pool of students by default. If you want to include teachers andstudents in the auto-creation, change this to "All".
Select members from cohort - Only site administrators should see this setting.
Specify - number of groups or members per group - do you want to break the class up into a specific number of groups, or by the number of people per group?
Group/member count - this field is required and is linked to the previous setting. i.e. If you want your students split into 3 groups, put 3 in here and have "number of groups" for the previous setting.
Prevent last small group - If there are not the right numbers to make even groups, often one group will be created that is smaller than the rest. Checking this will distribute those students amongst the existing groups instead, even if it pushes the numbers above the ones you specified for maximum members in a group.
Allocate members - your options are randomly, alphabetically by first name last name, alphabetically by last name first name, alphabetically by ID number.
Naming scheme - The at symbol (@) may be used to create groups with names containing letters. For example Group @ will generate groups named Group A, Group B, Group C, ...
The hash symbol (#) may be used to create groups with names containing numbers. For example Group # will generate groups named Group 1, Group 2, Group 3, ...